Simulation Control
For the simulation control we will specify the End time value [s], Number of computing cores and Maximum runtime [s] to 1500, 32 and 50 000 respectively.
Result Control Item 1
As the last step before starting our simulation run, we will create result control items in order to obtain graphical data of the results.
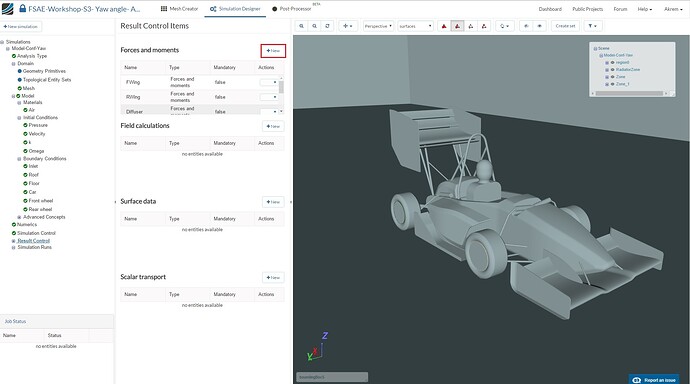
Go to Result Control and click +New next to Forces and Moments.
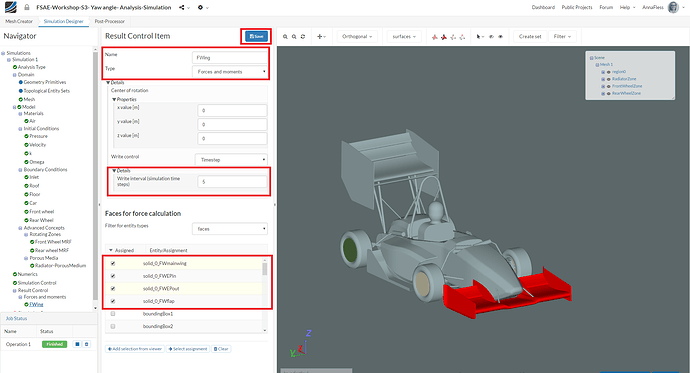
A new Force and Moment result control item will be created. Rename it to FWing (optional).
Change the Write interval (simulation time steps) to 5
Select solid_0_FWmainwing, solid_0_FWEPin, solid_0_FWEPout and solid_0_FWflap under Faces for force calculation.
Click Save to register your changes.
Result Control Item 2
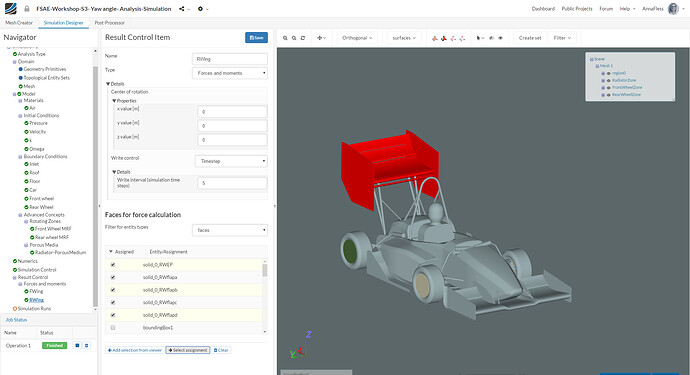
Create a new Force and Moment result control item for the rear wing. Rename it to RWing (optional).
Change the Write interval (simulation time steps) to 5
Select solid_0_RWEP, solid_0_RWflapa, solid_0_RWflapb, solid_0_RWflapc and solid_0_RWflapd under Faces for force calculation.
Click Save to register your changes.
Result Control Item 3
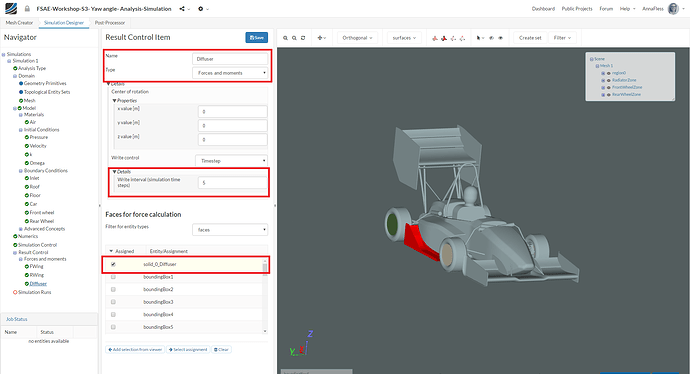
Create a new Force and Moment result control item for the diffuser. Rename it to Diffuser (optional).
Change the Write interval (simulation time steps) to 5
Select solid_0_Diffuser under Faces for force calculation.
Click Save to register your changes.
Result Control Item 4
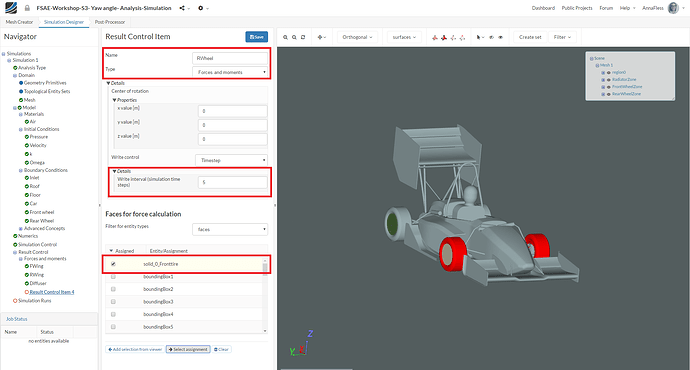
Create a new Force and Moment result control item named FWheel (optional).
Change the Write interval (simulation time steps) to 5
Select solid_0_Fronttire under Faces for force calculation.
Click Save to register your changes.
Result Control Item 5
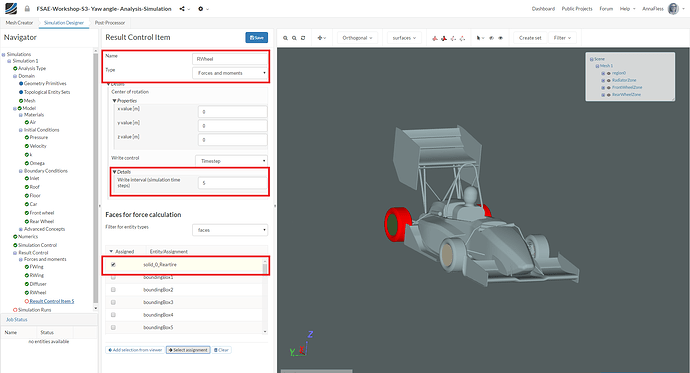
Create a new Force and Moment result control item named RWheel (optional).
Change the Write interval (simulation time steps) to 5
Select solid_0_Reartire under Faces for force calculation
Click Save to register your changes.
Result Control Item 6
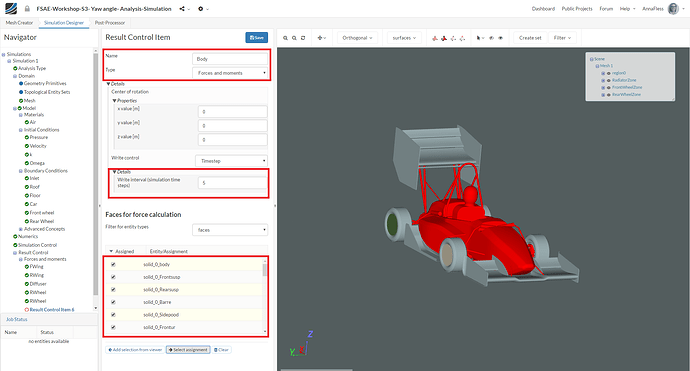
Create a new Force and Moment result control item named Body (optional).
Change the Write interval (simulation time steps) to 5
Select solid_0_body, solid_0_Frontsusp, solid_0_Rearsusp, solid_0_Barre, solid_0_Sidepood, solid_0_Frontur, solid_0_Radsupport, solid_0_Rearur and solid_0_Driver.
Click Save to register your changes.
Once all the above steps are defined, we will proceed to create our first simulation run.
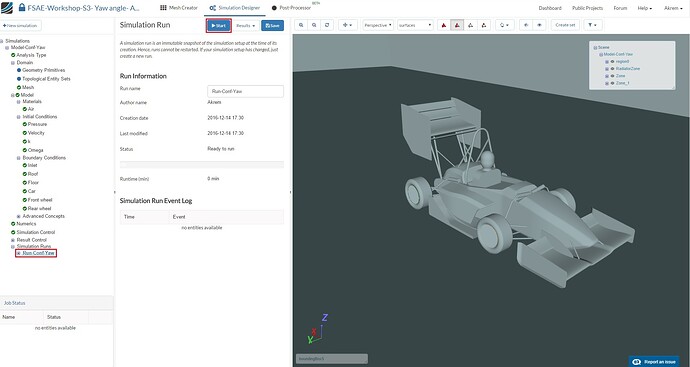
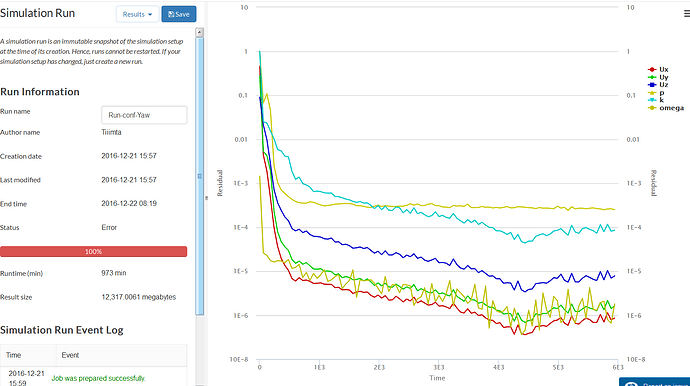
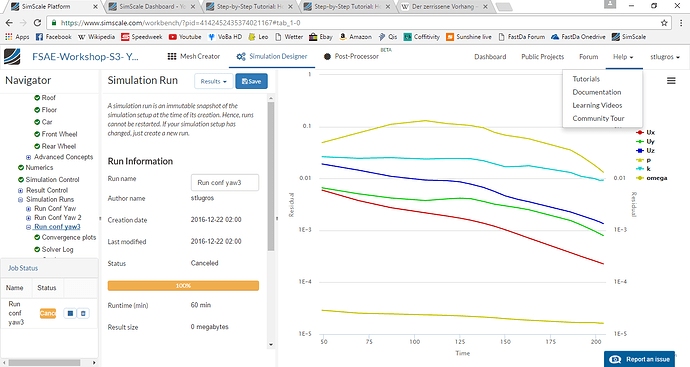
Go to Simulation Runs and click on +New. A window will pop up, give a reasonable name to the run e.g. Run-conf-Yaw in this case (optional) and click Create in order to create a new run.
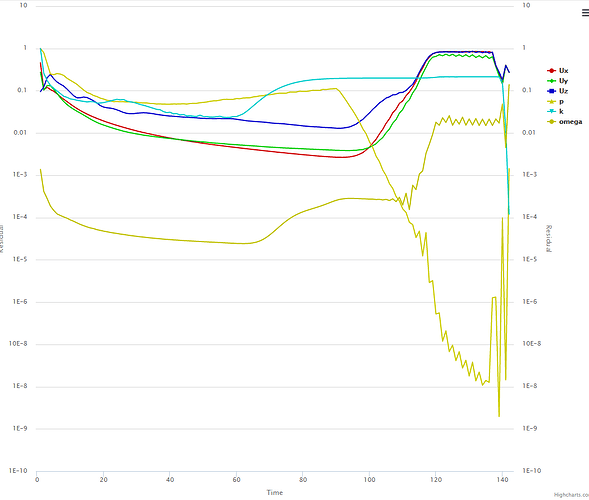
After the run is created, click Start to start the created run. The simulation run can take up to ~336 minutes (~5.5 hrs.)
Post-Processing
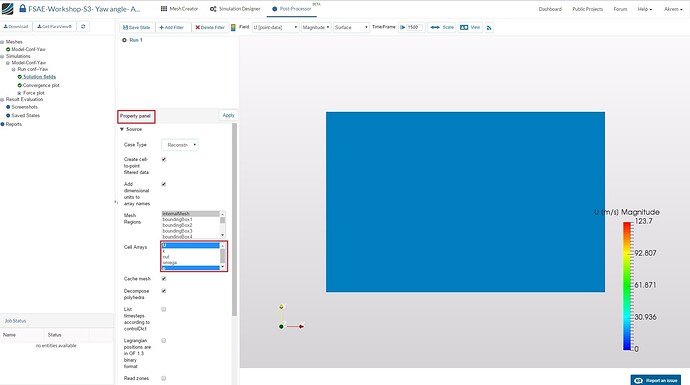
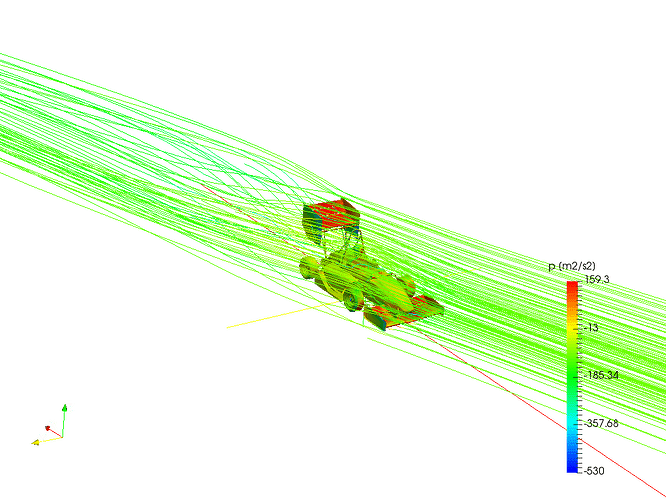
Once in Post-Processor, click on Solution fields under Run-Conf-Yaw in order to load the results in viewer. Due to full car model that we are using, it can take up to 20 minutes to load the results in to the viewer.
In order to reduce the time of loading the results we suggest for you to select only U and P under the Property panel and Cell Arrays.
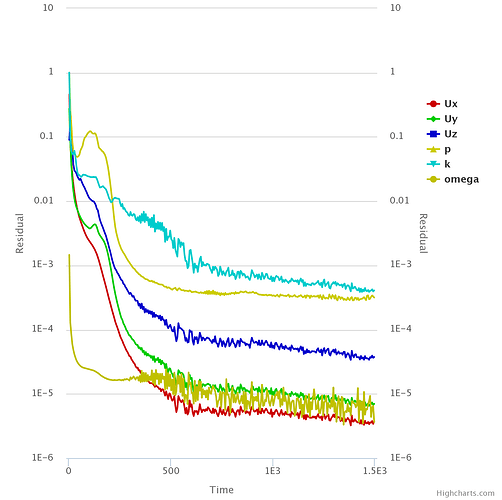
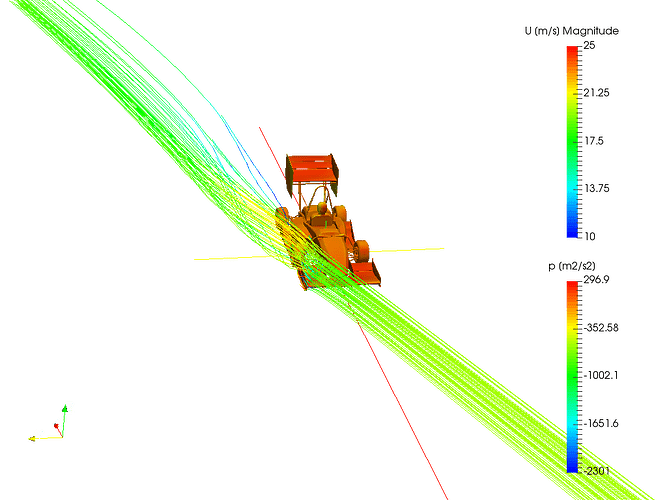
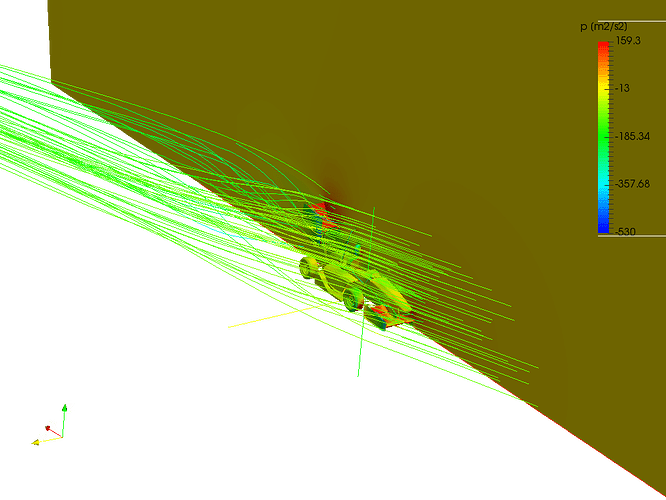
For further instructions about how to post-process your results please follow the same steps detailed in the exercise from Session 2.
