Dear SimScalers,
in this weeks spotlight we are having a look at a FEA simulation of a Semi Truck Bumper by our user Matt Reimer (@mreimer).
\underline{\textbf{Introduction}}
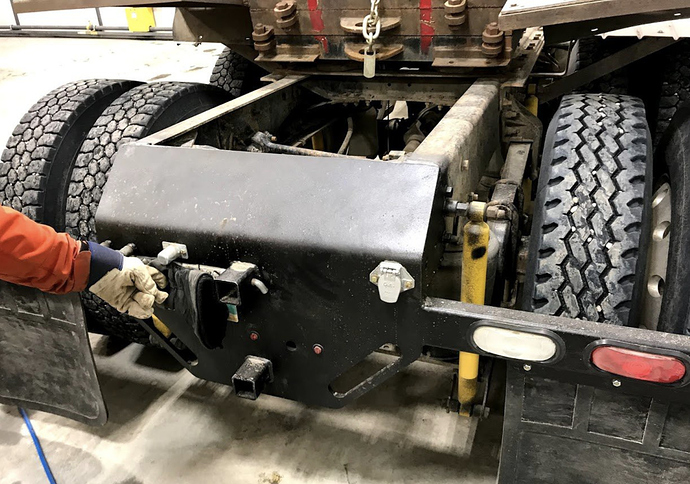
Matt’s team needed a bumper put on one of their semi trucks so they could pull large pieces of farm equipment. Shortly before starting the design they discovered SimScale and OnShape and used those to do some work with similar products for a living. The fact that the software awesome and free for public amazed Matt and his team. You can check out their actual project files here: Semi Truck Bumper | Hackaday.io
The spotlight is divided into the following parts:
-
Geometry
-
Meshing
-
Simulation
-
Simulation with SimScale
-
Results & Conclusion
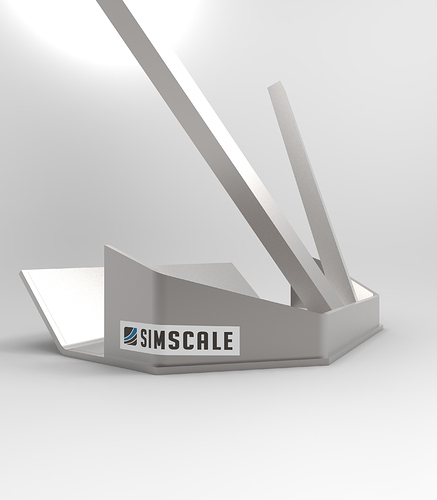
Geometry
Format: STEP (Rendered with KeyShot)
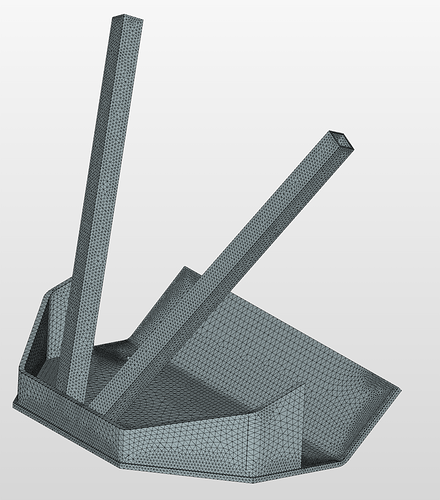
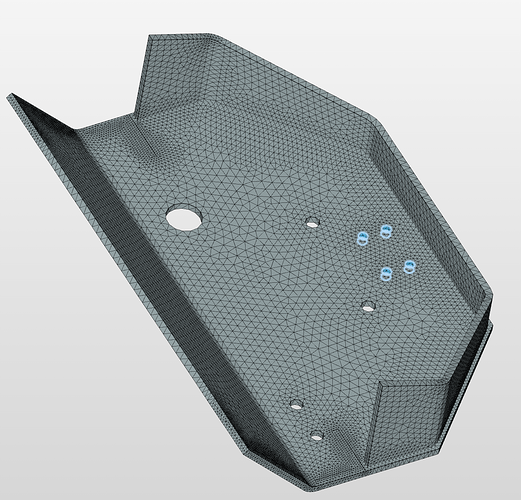
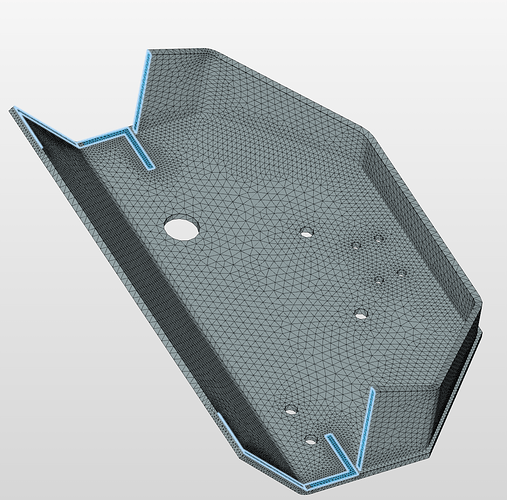
Meshing (Case 3)
Type: Tet-Dominant Mesh
Simulation:
For the simulation setup we are having a look at case 1.
Type: Static Analysis - Advanced
Simulation Details
Material
For this simulation a linear elastic material behavior has been used with a Young’s modulus [psi] of 29730000 and a Poisson’s ratio of 0.28.
Boundary Conditions
Solution
Machine cores: 32
Numerics
Equation solver: MUMPS
Results & Conclusion:
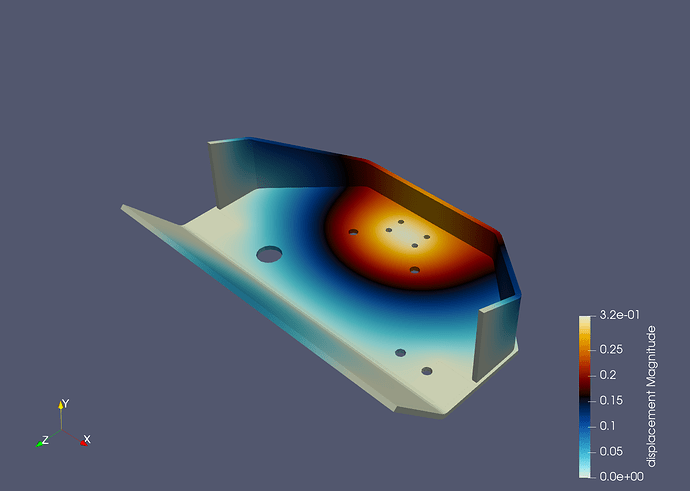
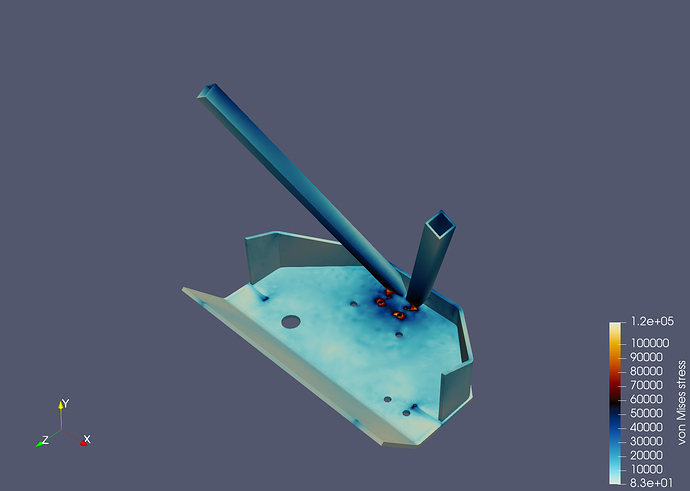
All of the coloured pictures you see are stress analysis done in SimScale. The red color is stress over 40,000psi (\text{1 psi} \approx 6\,895 \; Pa). This is all based on a 50000 lbs (\text{1 lb} \approx 0,453 \; Kg) trailer that puts 25000 lbs on the tongue and is undergoing a 1.5g braking event thus a fairly extreme load case. The first iteration of the design is the one that is most red (Case 1). Just 1/2 plate bent to fit the frame rails with a bracket at the bottom where the results were not satisfying.
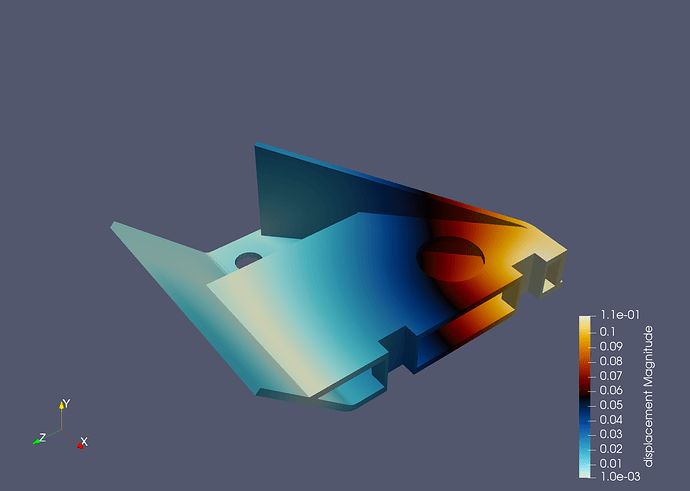
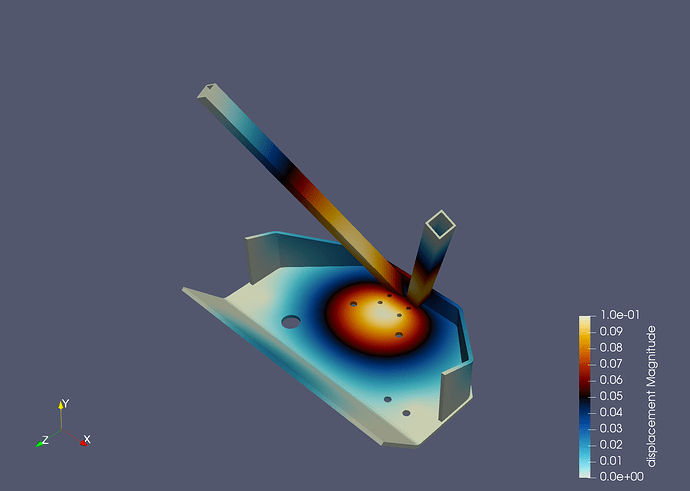
Then they added some support beams braces back to the frame of the truck which greatly improved the design. This was probably the very best option unfortunately actually getting those beams to fit in real life was going to be a major challenge perhaps almost impossible so they mixed that one too. They added a 1/2 inch (\text{1 inch} \approx 2,54 \; cm) plate to box out the design and re-ran the model and the results were adequate. They emailed the dxf files from OnShape of their parts to a large farm in the area that does custom laser cutting and also has a giant press for bending steel. 24 hours later they had their parts and were welding everything in place. Some paint and some lights and the projects was done.
Results - Case 1
Results - Case 2
Results - Case 3
SimScale project:
To look at the simulation setup, please have a look at the project from @mreimer :
To copy this project into your workspace, simply follow the instruction given in the picture below.

