The aim of this article is to show how you can upload your CAD assembly into the SimScale Workbench.
Best Practices
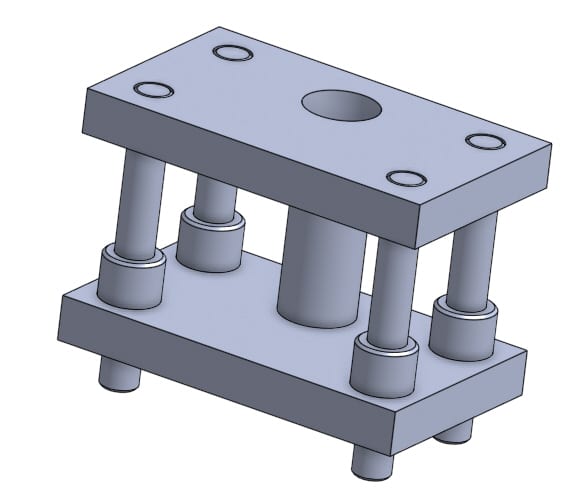
The figure below is a pressure tool that has been created as an assembly and will be an example on how we can successfully upload assemblies to SimScale.
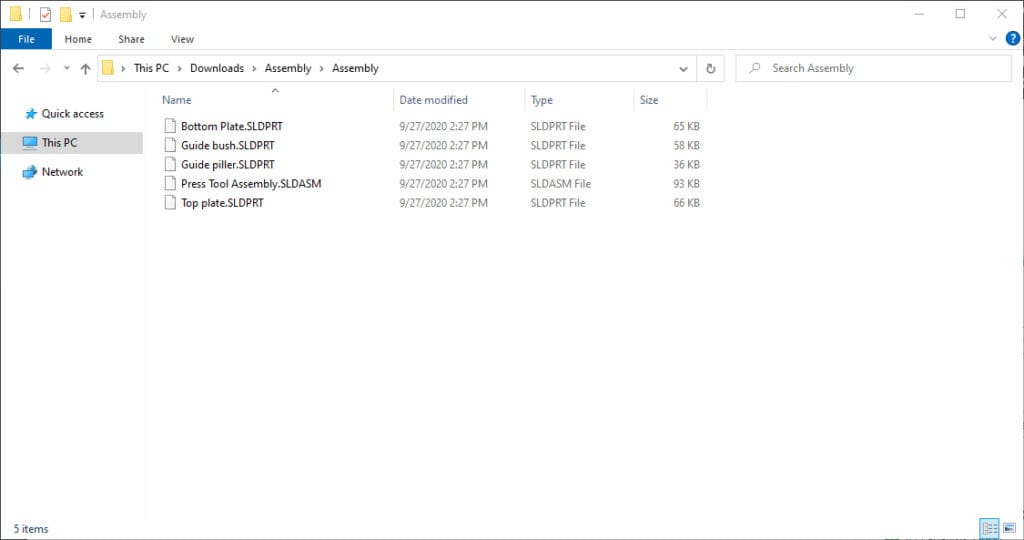
Firstly, to successfully upload the pressure tool, create a folder that has the assembly file (*.sldasm or *.iam) and the parts that make up that assembly. For example, the figure below shows the assembly file of the pressure tool and the parts that make up the pressure tool.

Keep in mind!
If sub-assemblies exist, the software first checks if the archive name matches any assembly name in the archive – and we use this assembly as a root assembly of the import.
If not, it then checks the first assembly file alphabetically and uses this file as a root (parent) assembly of the import.
Numerical values like “0” can be used as prefix for naming files to align them to the top.
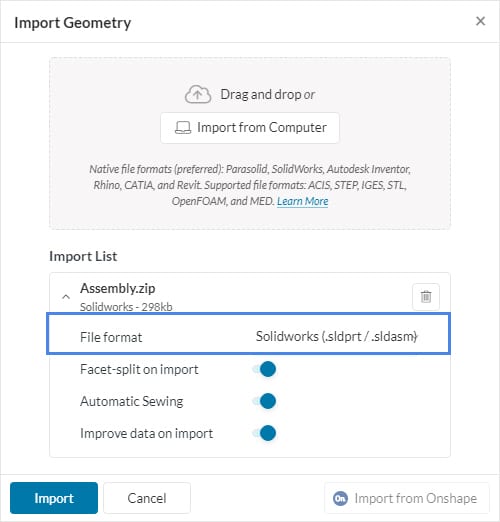
Next, you will need to create a .zip file of this folder. This .zip file is what will be uploaded into SimScale. The process of uploading the .zip file is similar to uploading a single CAD file. The only difference is that you will need to select the corresponding assembly file format.
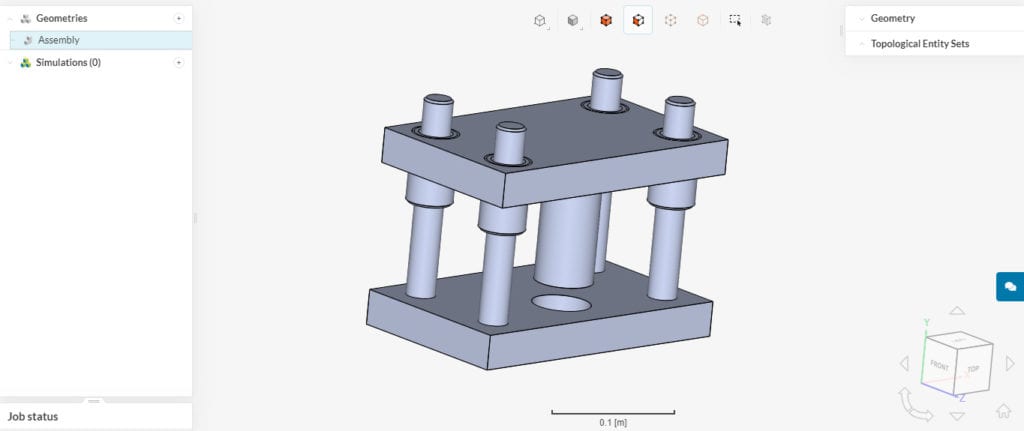
After the import has finished, the model is ready to use for a simulation.
Error
While uploading the assembly to the SimScale platform it is possible that you receive the following error:
“The archive contains files with invalid UTF-8 characters. Please remove all non UTF-8 characters or create an archive with a different tool.
Error code: xxxxxxx”
This error might arise due to file names containing special characters. Try using simple file names for the parts and upload the assembly again.
Note
If none of the above suggestions solved your problem, then please post the issue on our forum or contact us.


