Documentation
A geometrical domain can be described depending on its highest dimension by volumes (3D entities), faces (2D entities), edges (1D entities), and nodes (0D entities). You can use those entities in the simulation design in order to assign materials, apply boundary conditions, etc.
Often, it is convenient to group some of these entities and access them as a whole later in the simulation setup, for example, for a boundary condition assignment on all the inlet faces at once. Such a group is called Saved selections.
In order to create a saved selection inside SimScale Workbench:
The new set created will appear in the scene tree under SAVED SELECTIONS. You may now access this set while specifying the simulation setup.
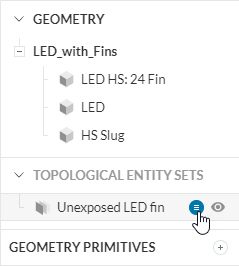
To hide the set click on the eye icon if necessary. To delete the set click on the circular icon (as shown below) and delete it.
You can select as many faces for a set and also create multiple sets as needed.
Note
Please note that Mesh upload is mandatory if Edge selection or Node selection needs to be used.
Readers interested in understanding the CAD topology in more detail can visit this simwiki article.
Try your hand at creating topological entity sets by following some of our tutorials:
Last updated: September 19th, 2023
We appreciate and value your feedback.
Sign up for SimScale
and start simulating now